© Paul Mozell
The third installment in a new series. Your feedback is welcome! All photographs in the series are available as fine art prints and licensed stock images.
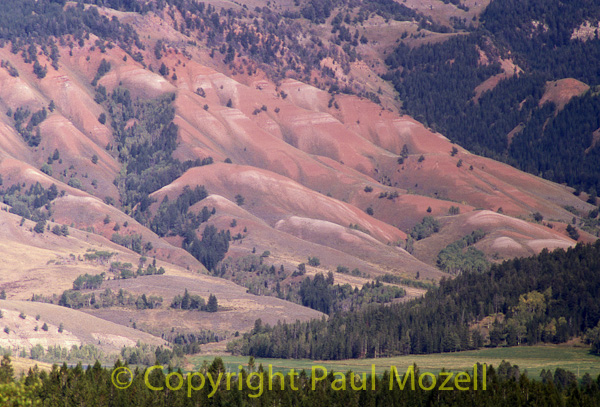
11) Use long lenses to capture wide landscapes and wide angle lenses in small spaces —sometimes. I’ve stood on countless mountaintops with grand vistas trying to convey the depth and dimension of the scene with a 24 or 28mm lens. So often it just doesn’t work. Its like trying to wrap your arms around a gigantic beach ball. Unless the sky is full of dramatic clouds you’ll end up with a frame full of featureless sky and a shrunken landscape. Instead, look for the details in the scene. Use your long lens to flatten out a portion of the landscape and do the opposite of what the binocular vision shaped by your two eyes is urging you to do with the wide lens. Conversely, when you’re in a small space like a dark forest or a narrow gorge, pull out the widest lens you have to enlarge the space.
12) Don’t use Auto Exposure. These days all cameras, save the least expensive models, have multiple function and operational modes. If you have “A” or aperture priority and “S” or shutter priority modes you are in great shape. Learn to use these modes to control the depth of field (background to foreground sharpness) and to stop motion or deliberately blur motion. These tools are essential to the landscape photographer. Auto mode is for snapshots. Enough said!
13) Don’t resist the urge to click the shutter. At my core I’m still a film photographer, which means that I still catch myself “budgeting film” as I work. This handicap was most pronounced years ago when I was shooting large format landscapes and each frame cost a few dollars. So, don’t be like me. When your mind’s eye and your instinct urges you to click the shutter…do it. That moment will be gone. Trust your inner vision to guide you. I’ve grabbed more memorable shots in recent years just because I went in the direction the horse was going, so to speak.
14) Level the horizon. High on my list of pet peeves are crooked horizons. I’ve even seen magazine covers where the ocean is tilted. This makes me dizzy! If your camera has a built-in viewfinder grid, turn it on and leave it on all the time. When you are photographing the horizon at any time, just tilt the camera down to line the scene up with the grid, then gently restore the position. If you are lucky enough to have a built-in electronic horizon feature in your DSLR, use it. This way you don’t have to re-compose the image. Another, old-fashioned but still viable option, is to use a spirit level that slides into the hot shoe of your camera. Make sure to get one that levels on 2 planes or axis.
15) Lay on the ground, climb trees, scale cliffs. If you are wandering through the woods, around a pond, or across a field, hoping to find a photograph and coming up dry, try the viewpoint of the chipmonk. Put your belly on the ground and look around for a while. Before long, a great macro shot of a mushroom or early spring sprout will appear. Look for interesting reflections in pools of rainwater or small streams. Move your viewpoint up and down to find those hidden images.


Paul, keep them coming! Steve